Before uploading or using custom avatars in VRChat, make sure you have:
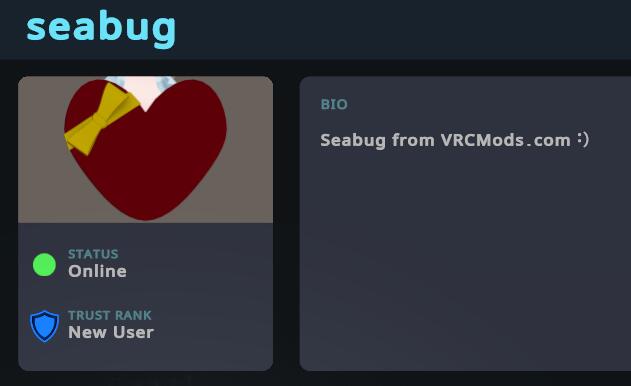
Trusted VRChat User Account: Required to upload Avatars & Worlds. You generally earn this after around 12 hours of active playtime. You will receive an email once you achieve Trusted status.
VRChat Creator Companion (VCC): Needed to manage Unity projects for VRChat.
Unity (Version Recommended by VCC): Always install the Unity version prompted by the Creator Companion. Using a different version can cause errors.
It will guide you to install the correct Unity version and set up your project folder.
Optional: Install Unity Hub from Unity Hub if you want to manage multiple Unity versions.
Create and Open an Avatar Project:
Open VCC → Select New Avatar Project (SDK3)
Name your project → Open it in Unity.
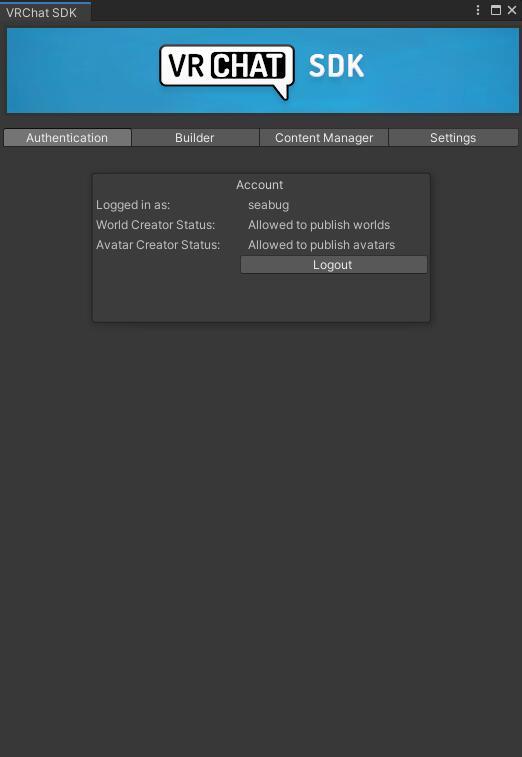
Log into VRChat in Unity:
Open the VRChat SDK → Click Show Control Panel
Log in with your VRChat account.
Load the Avatar Unitypackage:
Drag and drop the downloaded .unitypackage file into your Unity project.
Open the included scene file.
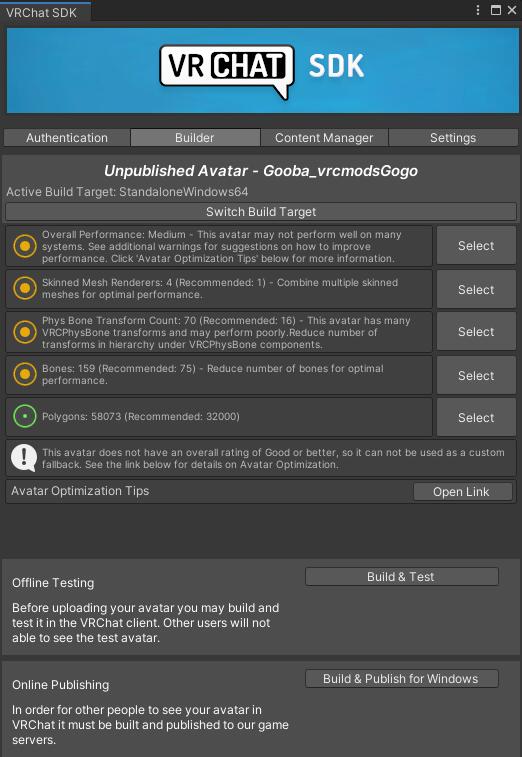
Build & Publish:
Open the Builder tab in the VRChat Control Panel.
Click Build & Publish for Windows.
Screenshot Reference:
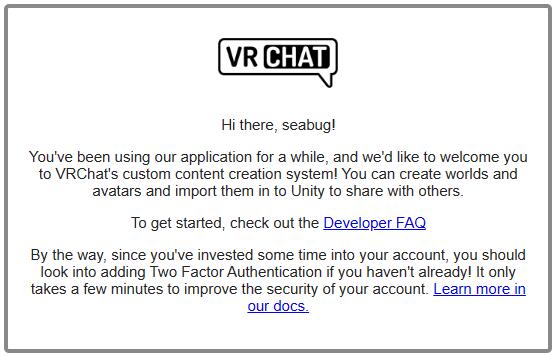
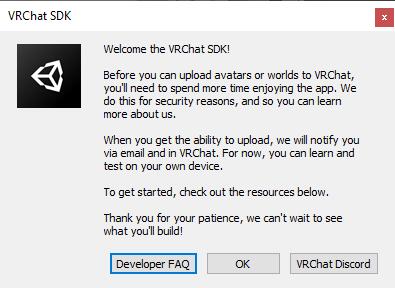
If you see a message about not being able to upload, it means your account is not yet Trusted. Spend more time in VRChat until Trusted status is awarded.
Example Notification:
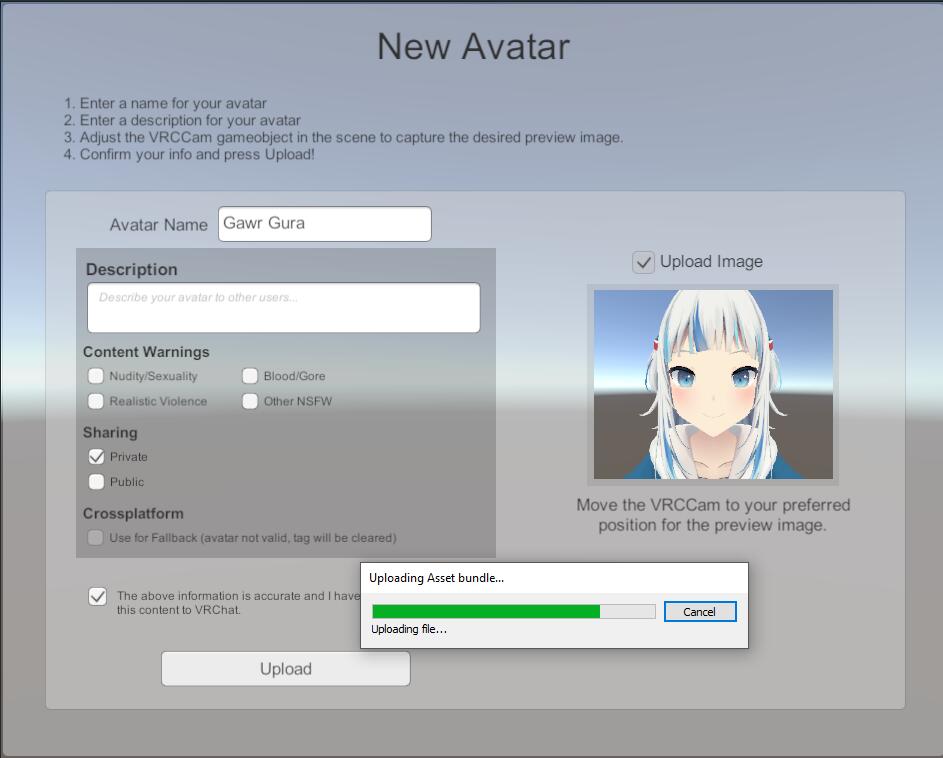
Fill Avatar Details & Upload:
Choose a name, description, and visibility (Public or Private—Private is recommended for testing).