If you're encountering pink materials while working in Unity, it's almost certainly due to the material trying to use a shader system that isn't available. Below, you'll find a couple of solutions to tackle this common issue.
Solution 1: Changing the Shader to Standard
- Step 1: Locate the material that's giving you trouble. This is typically found in a material folder and is identifiable by a spherical icon.
- Step 2: Once you've selected the material, navigate to its properties panel. Look for a section labelled "Shader". It should resemble this:
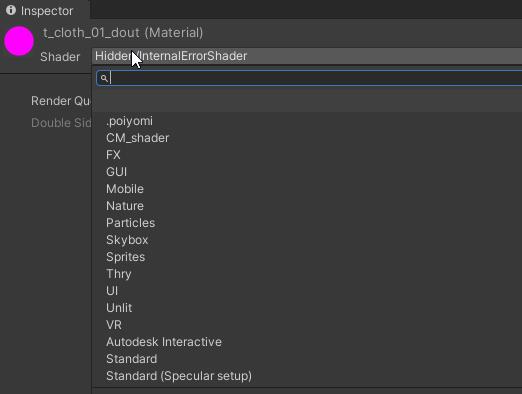
- Step 3: Within the "Shader" section, select "Standard".
Solution 2: Downloading and Installing the Missing Shader
Step 1: Identify the shader being used. You can do this on the upload page where the shader details are typically specified.
Step 2: Once you've found the shader, download it. These files are usually available for download online.
Step 3: Open and install/load it into your project, Unity shaders typically comes as a unitypackage file.
Step 4: Follow the steps in Solution 1, but instead of selecting "Standard", choose the name of your newly downloaded and installed shader.
Final notes: If you are using a custom shader and your model is not visible, that is a whole other rabbit hole, we recommend sticking to well know shader packs like: https://github.com/cubedparadox/Cubeds-Unity-Shaders
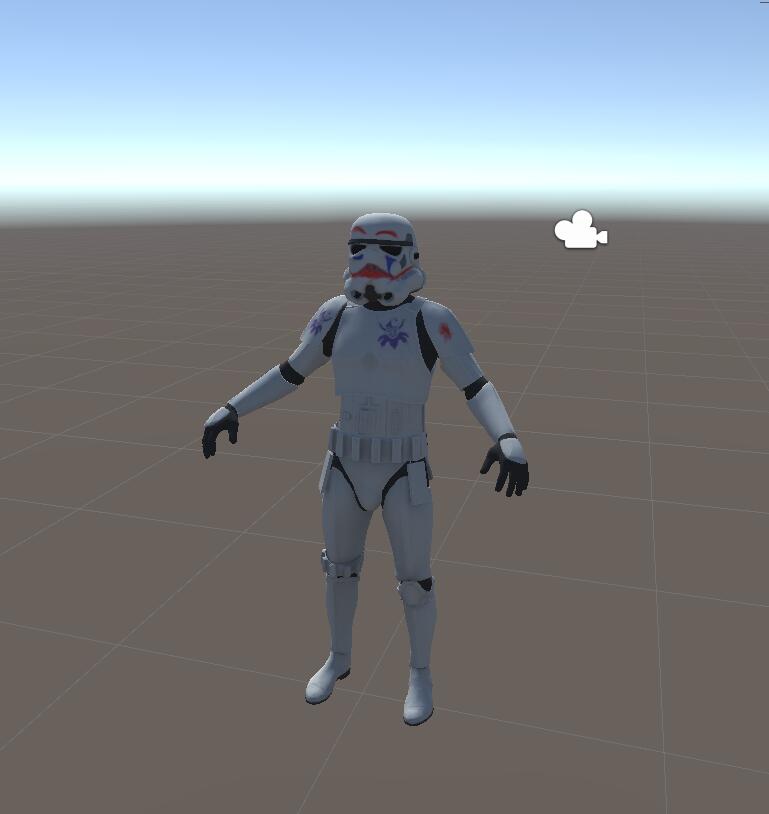
Results!
With this, you've changed the shader to the standard option, which should resolve the pink material issue.
Before:

After (solution 1, standard shader):